Once I decided I wanted to become an Au Pair, I had no idea where to start. I had some previous profiles on some Au Pair sites, but I only heard from families in China. I used Ashley Abroad’s site heavily, but the Au Pair’s experience in the linked post was much different from mine.
- Make a Profile on “Au Pair World”
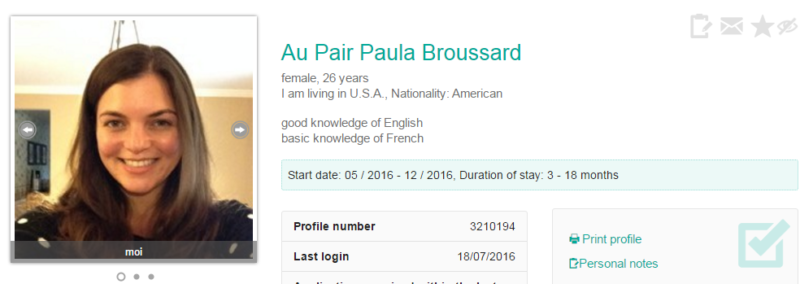
Back in 2012 I made profiles on GreatAuPair.com and EasyAuPair.com. I did not get good results, so I tried AuPairWorld.com and found it to be the best. Not only is the interface more user friendly, but I was able to find several families I liked and exchanged messages with. Include a few photos and introduce yourself in the sections. Explain your experiences with childcare and why you want to be an Au Pair.
Timeline: Look around the New Year if you want to start in the Fall
- Find a Family
Everyone is looking for something different, so be clear on your profile. I wanted a family with older children and a space of my own. I was also looking for a family to make me feel at home and an extension of their family.After messaging with a few potential families, I Skyped with my favorite one. On our second Skype chat, I told them they were my number one, and they told me the same thing! From there, we started the application process.
Timeline: By end of January
- Complete and Send Contracts
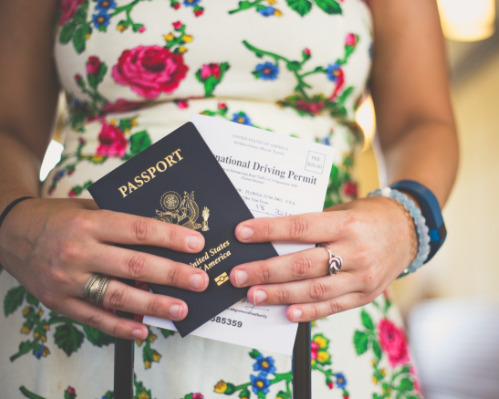
The family I chose had previously had Au Pairs, so they were used to this process. They sent me a copy of my contract via email, stating how many children, ages, job duties, where I would live and how much I would be paid. Once I agreed, they mailed me 5 copies they had signed. I had to sign all 5 and mail it back to them. I also had to send them them a copy of my passport, a copy of my college diploma and a written letter, in French, about why I wanted to be an Au Pair. I used Google Translate, but my family was nice enough to fix any errors from that translation.
Timeline: Completed by end of April
- Sign up for French Classes
My families previous Au Pairs had attended the same school, and neither of them liked it (Paris Langues). My family is right outside of Paris, so I searched for other French schools within the city. I found one that looked nice, and applied for classes for the fall (France Langues). I had to take a french test online, and pay for the class. My family agreed to pay for 100 Euro of my classes, so I just sent them the difference. To send money internationally, I recommend using TransferWise. Once I paid, they sent my family and I a letter stating I was admitted, which I need for my Visa and my family needed for the next step.
Timeline: Completed by end of May
- Get DIRRECTE from Family
My family brought the following to its local city hall: the signed Contract, my letter of why I wanted to be an Au Pair, copy of my passport, copy of my diploma and letter of admission from school. Their City Hall stamped it for an official approval. I then recieved that original copy via mail as I needed it when getting my Visa.
Timeline: Family submitted middle of May, I received at the end of June
- Make Visa Appointment
For a full review of my experience with the NYC Consulate click here. I suggest booking your appointment in early May if you want one for the middle of July. I also suggest trying to get the earliest appointment of the day, if possible. Bring EVERYTHING on the list, including all oringinals and copies.
Timeline: At least 2 weeks before you are planning to depart
- Book Flight
If you haven’t already, book your one way flight! I found the cheapest flights to be Icelandic airlines. You may have to stop in Reykjavik, but its worth saving a few hundred dollars. Plus you get to see another place!
Timeline: 3 Months prior to departure